
Is your phone is asking for a repair? So surely you can get it, but without worrying about the security of data, are you able to do it, let me provide you a guide through which you can make your personal data safe before sending you your Android Phone away.
Fortunately, there are steps you can take to protect your data while your phone is being fixed. Your Phone’s Data Isn’t Safe While It’s Getting Repaired. Most of us assume that when we send a device to a manufacturer’s official repair center, our data is safe. But a 2022 study from Cornell University titled “No Privacy in the Electronics Repair Industry” indicates this isn’t the case.
In the study, researchers sent sixteen Windows laptops with “dummy data” that secretly logged how technicians interacted with the devices. Thus, securing your Android device is mandatory every time you send it for repair. Fortunately, Google makes locking down your Android phone before sending it in for repair.
Back-Up Your Data you Android phone
Android has its fair share of backup solutions, such as Titanium Backup for power users with a rooted device. But if you want to keep things simple, your best bet is to use Google One to back up your phone.
Every Google account includes 15 GB of free cloud storage, so depending on how much data you need to back up (and how much space you currently use across the other Google services you use), you may need to upgrade to a plan with additional space. To back up your data:
- Install the Google One app if you don’t already have it.
- Open the app and tap Storage.
- Select the Gear icon next to Device backup.
- Tap Manage backup to clarify the contents that’ll be backed up.
- Choose Back up now.
Though Google backs up most of your essential data but it won’t catch everything. So, if you have vital data in individual apps that you don’t want to lose, you will need to use each app’s backup feature (if applicable) to back up your data and restore it once your phone is fixed.
If you are a Samsung Device operator then you can use Maintenance Mode. Activating Maintenance Mode before you send it away will make your Samsung phone look as if it has been reset to the device’s factory settings, save for a “Maintenance Mode” icon in the status bar.
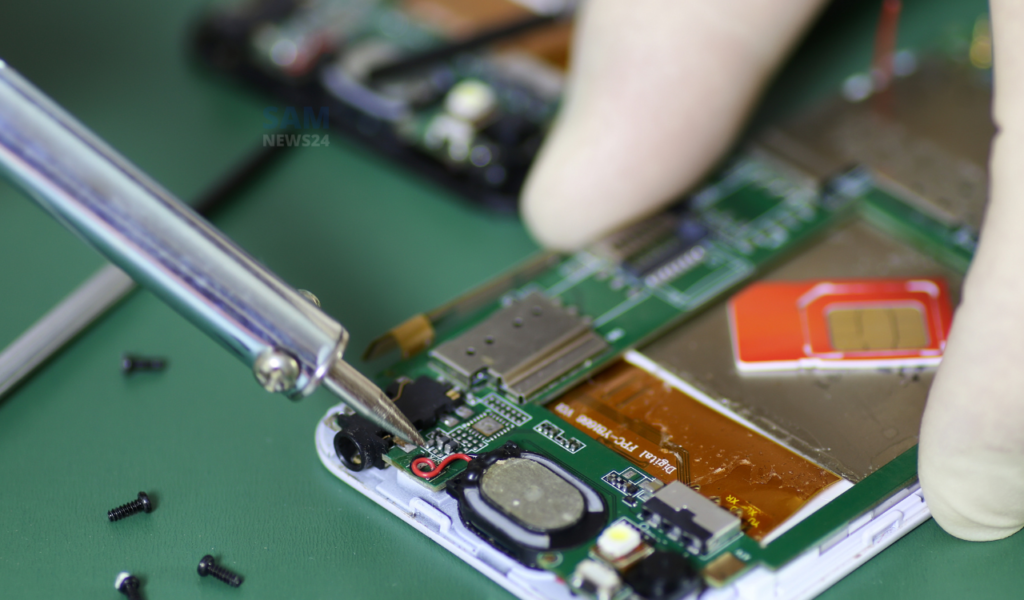
Delete Your eSIM Profile or Remove the SIM Card
To avoid the threat of SIM card swapping, you’ll want to remove all traces of your SIM profile. To remove an eSIM profile from your device:
- Open the Settings app.
- Tap Network & internet > SIMs.
- Choose Delete SIM.
For physical SIM cards, simply take the card out of your phone. To do this:
- Turn off your phone.
- Insert the end of a small paperclip into the tiny hole next to the SIM tray on the side of the phone.
- Pull out the SIM card tray once it pops out.
- Remove the SIM card, then place the tray back into the device.
Unmount and Remove the SD Card (if Applicable)
Since we’re having a ball removing cards from slots, let’s use this opportunity to remove the SD card from your device if you have one. First, unmount the SD card. For most devices, you can do this by going to Settings > Storage > Unmount SD card > OK. Then, remove the SD card from your device’s SD card slot. Easy!
Factory Reset Your Phone (if You Can)
Factory reset is the only option for those who are not operating Samsung devices. This can be quite different from one model to the next. You can try the one we have provided below.
- Open the Settings app.
- Choose Reset options.
- Tap Erase all data (factory reset).
Factory Reset a Broken Phone
The easiest solution is to factory reset the phone remotely via Google’s Find My Device app. Of course, you can also access Find My Device via any web browser. To remotely factory reset your phone via Find My Device:
- Open Find My Device in a web browser.
- Choose your phone’s icon at the top of the page.
- Select ERASE DEVICE.
- Read the disclaimer about what will happen to your data once you opt to erase your device.
- Tap ERASE DEVICE again to remotely erase the device.
There are many ways to do a factory reset, you can factory reset your device via recovery mode. Accessing recovery mode may differ depending on the Android phone that you’re using. But it typically looks like this:
- Turn off the phone.
- Hold the Power and Volume Down buttons (or Volume Up button in some cases) simultaneously.
- Press the Volume buttons to navigate the menu that appears until you highlight Recovery mode.
- Press the Power button.
At this point, the phone will restart, then a screen will appear that says “No command.” Some phones will automatically load recovery mode. Then you may require to hold the Power and Volume Up buttons simultaneously to load recovery mode.
Once in recovery mode, use the Volume buttons once again to navigate the menu. Then:
- Highlight Wipe data/factory reset.
- Press the Power button.
- Highlight and select Yes to reset the phone and enter recovery mode again.
- Highlight the Reboot system now, then press the Power button to boot the phone as usual.
Your Android phone is now factory reset. Therefore Locking your Android phone down before sending it in for repairs is necessary for the full of malicious practices.
For more news and updates and other technical information, @Samnew24 will consistently provide you, stay tuned forever.